In this blog we will see how to install Nexus repository manager on Rocky Linux. A free, open-source artifact management application called Sonatype Nexus assists you in efficiently managing artifacts throughout your software supply chain. For each component, it offers a single source of truth and native package management compatibility. It is compatible with the user and authentication solutions you already have, such as Atlassian Crowd and LDAP. IDEs and continuous integration tools such as Eclipse, IntelliJ, Visual Studio, Jenkins, and others are compatible with Sonatype Nexus.
System Requirements
- Rocky Linux 8 – refer How to Install Rocky Linux 8
- Non root user – nexus
- Find the RAM and CPU requirement as per the table below . For this blog I am going with “Small” profile size.
| Profile Size | Profile Description | CPUs | Disk Size (Blob) | RAM | Heap Memory |
|---|---|---|---|---|---|
| Small | < 20 repositories< 20GB total blob store sizesingle repository format type | 8 | 20GB | 8GB | Min: 2703MMax: 2703M |
| Medium | < 50 repositories< 200GB total blob store sizea few repository formats | 16 | 200GB | 16GB | Min: 4GMax: 4G |
| Large | < 200 repositories> 200GB total blob store sizediverse repository formats | 32+ | 200GB or more | 32GB | Min: 8GMax: 8G |
| Very Large | 200+ repositories~10TB total blob store sizediverse repository formats | 32+ | 10TB or more | 64GB | Min: 12GMax: 12G |
Nexus Installation & Configuration
Installing JDK
Login to the Rocky Linux node using SSH. Make sure the system is up to date
sudo yum update -y Install the OpenJDK 1.8 package
sudo yum install java-1.8.0-openjdk.x86_64 -yDownload Nexus and Install
Let us start with creating the directory for the nexus packages and then move into the newly created diretory
sudo mkdir /app && cd /appLet us download the latest nexus. You can get the latest Download Link from here.
sudo wget -O latest-unix.tar.gz https://download.sonatype.com/nexus/3/latest-unix.tar.gzUntar the file
sudo tar -xvf nexus.tar.gzRenaming the untar file
sudo mv nexus-3* nexusIt is not recommended to operate the Nexus service with root rights as a prudent security practice. Thus, to launch the Nexus service, establish a new user called Nexus.
sudo adduser nexusChanging the ownership of the nexus files and directories
sudo chown -R nexus:nexus /app/nexus
sudo chown -R nexus:nexus /app/sonatype-work
Edit the Nexus configuration file to define the nexus user
vi /app/nexus/bin/nexus.rcChange the following lines as per below
run_as_user="nexus"Save the file and exit
Creating the systemd file for Nexus
To use systemctl to control Nexus, it is preferable to have a systemd entry. For instructions on adding Nexus as a systemd service, see the section below.
Create the systemd unit file
sudo vi /etc/systemd/system/nexus.serviceAdd the following lines to the above file
[Unit]
Description=nexus service
After=network.target
[Service]
Type=forking
LimitNOFILE=65536
User=nexus
Group=nexus
ExecStart=/app/nexus/bin/nexus start
ExecStop=/app/nexus/bin/nexus stop
User=nexus
Restart=on-abort
[Install]
WantedBy=multi-user.target
Save and exit the file
Reload the systemd daemon
sudo systemctl daemon-reload Restart the service after enabling it at boot time
sudo systemctl enable nexus
sudo systemctl start nexus
Allowing Firewall Ports for Nexus
Using the Firewalld utility open the required firewall ports for Nexus. By default Nexus uses 8081/tcp port
sudo firewall-cmd --add-port=8081/tcp
sudo firewall-cmd --runtime-to-permanent
Accessing the Nexus Web Interface
By this point Nexus would have started and listens on port 8081. You can check it with the following command:
netstat -antpYou may see the output something like below
$ netstat -antp
(Not all processes could be identified, non-owned process info
 will not be shown, you would have to be root to see it all.)
Active Internet connections (servers and established)
Proto Recv-Q Send-Q Local Address           Foreign Address         State       PID/Program name
tcp        0      0 0.0.0.0:8081       0.0.0.0:*               LISTEN      40890/java
Nexus’s default username is admin and the default password is stored in the /app/sonatype-work/nexus3/admin.password file. You can see the Nexus admin password with the following command:
cat /app/sonatype-work/nexus3/admin.passwordYou may see the Nexus admin password something like below :
9632dbd2-6d54-41a5-b3d3-e6adb1647654You can Open the browser of your choice and use the URL http://your-ip-address:8081
http://your-ip-address:8081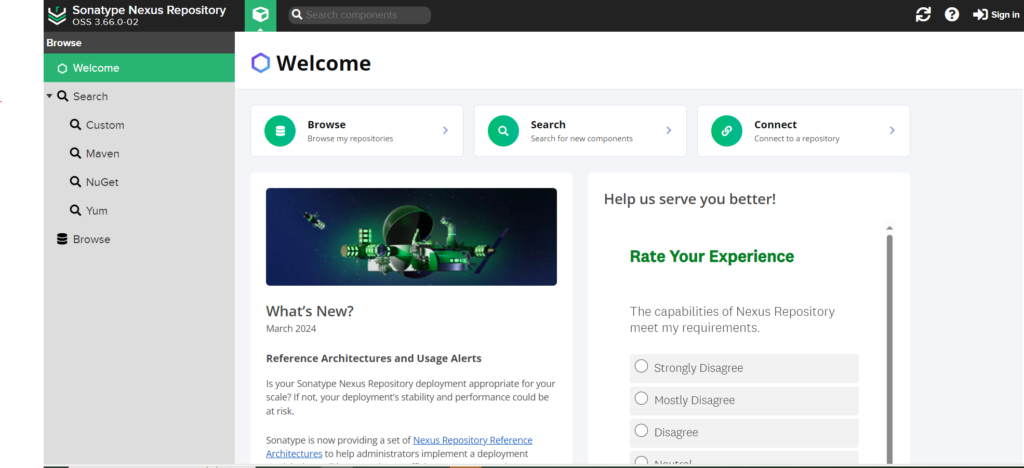
Conclusion
In this tutorial, we explained how to install Nexus repository manager on Rocky Linux. But this blog will work fine with any other Operating system such as AlmaLinux or Oracle Linux. You can now start managing your packages across your software supply chain. For more information, visit the Nexus documentation.